
Instructions follow to make this sweet little page :-)
Papers: MM, and Sass Lass, Heavy paper for journalling:Canson, Golden Book page, AC alphas, Brad by BG, DYMO label maker, Frame by scenic route, Ink by Versa Ink, Ribbon and teapot button- my stash.

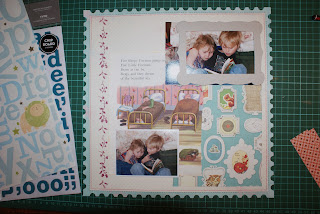
Step 1- Select photos, select feature product (page of Golden Book) and then select supporting products.

Step 2- Ink the frame with “Baby Blue” ink- Versa Mark and then put it out of the way to dry. After a couple of minutes, ink over the Baby Blue with “Cyan”, but let some of the Baby Blue show through.

Step 3- Position papers, but don’t adhere just yet.
Step 4- Hmmm, that's gonna be a bit much... needs dilution

Phew... that's better!
Step 5- Machine sew around edge of two blue papers and then distress edges with scissors. Just scrape the blade along the edge of the paper.

Step 6- Tie ribbon to frame, then adhere papers, top photo and frame with tape and adhere bottom photo with foam tape.

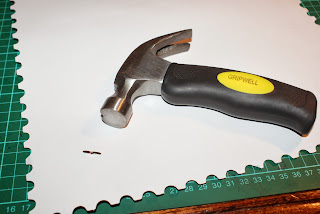
Step 7- Adhere pink gingham over sentence from Golden Book that doesn’t quite work, then blue ric rac over the top. Position title. Adhere ribbon and brad in bottom Right corner. Flip layout and flatten split pin with hammer.

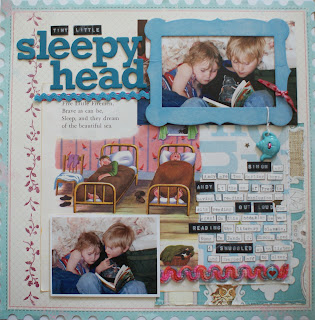
Step 10- Space out words on the layout and remove a few key words and replace with Dymo words. Try to space the Dymo words apart in a pleasing fashion.


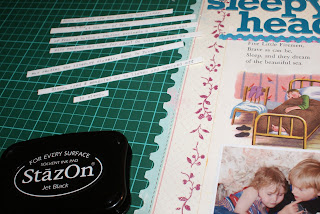
Step 8- Type up journaling. Note: adhering the individual words is time consuming, so if speed is preferred, why not adhere strips or even a journaling block.
Step 9- Adhere sizzix adhesive to the back, cut journaling into strips, ink edges, then snip each individual word and ink the little ends.


So there you have it, one cute little layout using the most divine products and the sweetest photos!! The journalling was a fiddle, but isn't it so worth it in the end? Maybe a shorter sentence next time LOL

No comments:
Post a Comment